

Scenario:
Make: Dell
Model: N4032, N2048, etc
Server: Radius Server 2012, 2016, 2019
Description: This article is to discuss and show, how to change the Radius Server priority on a Dell switch stack if Radius Fail-over on Dell Switches is configured. Refer to the article to know How to Configure Radius Authentication on Dell Switches.
If you are using Cisco Switches then follow the linked article to know “How to change radius server priority on Cisco switches“. Methods of changing the radius priority on Dell and Cisco switches are different.
Radius Priority Confirmation
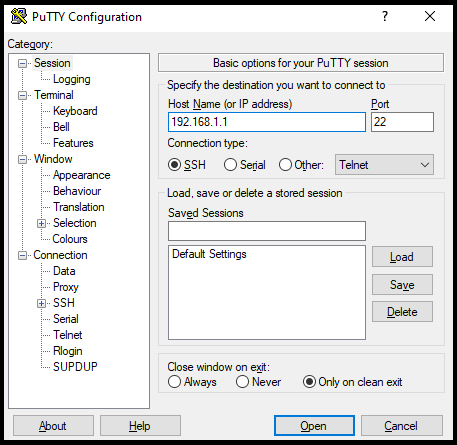
Step1: Login
SSH onto the Dell switch and log in using the username and password. Have you forgotten the password? Click the link to know how to Reset Forgotten Dell Switch Password.
Step2: Confirm Radius Servers
Check and confirm the priorities of the radius servers which are configured on the switch (should be more than 1). Use the command shown below to know the radius priority status.
edledge_switch#show aaa servers

IP address   Type   Port  TimeOut    Retran.   DeadTime   Source  IP    Prio.  Usage
------------ ----  -----  ------------ ------- -------- -------------   ----- ------
10.1.1.10    Auth   1812   Global    Global    Global     Global          1    all
10.1.1.11    Auth   1812   Global    Global    Global     Global          2    all
10.1.1.12    Auth   1812   Global    Global    Global     Global          3    all
Considering here, three radius servers are configured on the switch as below
Radius 1
edledge_1, IP Address = 10.1.1.10 with Priority = 1 (as shown above)
Radius 2
edledge_2, IP Address = 10.1.1.11 with Priority = 2 (as shown above)
Radius 3
edledge_3, IP Address = 10.1.1.12 with Priority = 3 (as shown above)
Changing Radius Priority
Step3: Change Priority
Execute the commands shown below to change the priority of the radius server after going into the privilege mode.
edledge_switch#configure t
edledge_switch(config)#radius server auth 10.1.1.11
edledge_switch(config-auth-radius)#priority 4
edledge_switch(config-auth-radius)#exit
edledge_switch#
Step4: Confirm Radius Servers
Check the configured radius servers on the switch. Use the command as shown below.
edledge_switch#show aaa servers

IP address   Type    Port   TimeOut   Retran.  DeadTime   Source IP  Prio.   Usage
-----------  -----  -----   -----     -------  -------    --------  -------- ------
10.1.1.10     Auth   1812   Global    Global   Global     Global      1       all
10.1.1.11     Auth   1812   Global    Global   Global     Global      4       all
10.1.1.12     Auth   1812   Global    Global   Global     Global      2       all
By this, we can change the priority of the Radius server of Dell Switches as per our requirement.
Other topics on Radius & Dell Switch
- RADIUS Bypass/Authorize/Unauthorize On DELL Switch Interface
- Dell N4000 Series Switch Stack Firmware Upgrade
- Dell N4000 Series Standalone Switch Firmware Upgrade
- Configure Monitor Session or SPAN/ Port Mirroring On Switches
- Port-Channel/Channel Group Configuration – Dell Switches
Source: Dell, Lab, Knowledge Base
EA00116