
v1, Last Updated: 09-June-2024
Scenario:
Make: Ubiquiti Unifi
Model: Ubiquiti Unifi Secure Gateway, USG Pro-4
Mode: GUI [Graphical User Interface]
Description: This article is to discuss and show the stepwise GUI method to do the initial setup of Ubiquiti Unifi Secure Gateway, USG Pro-4. This initial setup of Ubiquiti USG Pro-4 via CLI method is also available. You could purchase USG Pro-4 on amazon.
Ubiquiti Unifi USG Pro-4 Initial Setup – CLI Method
Connection
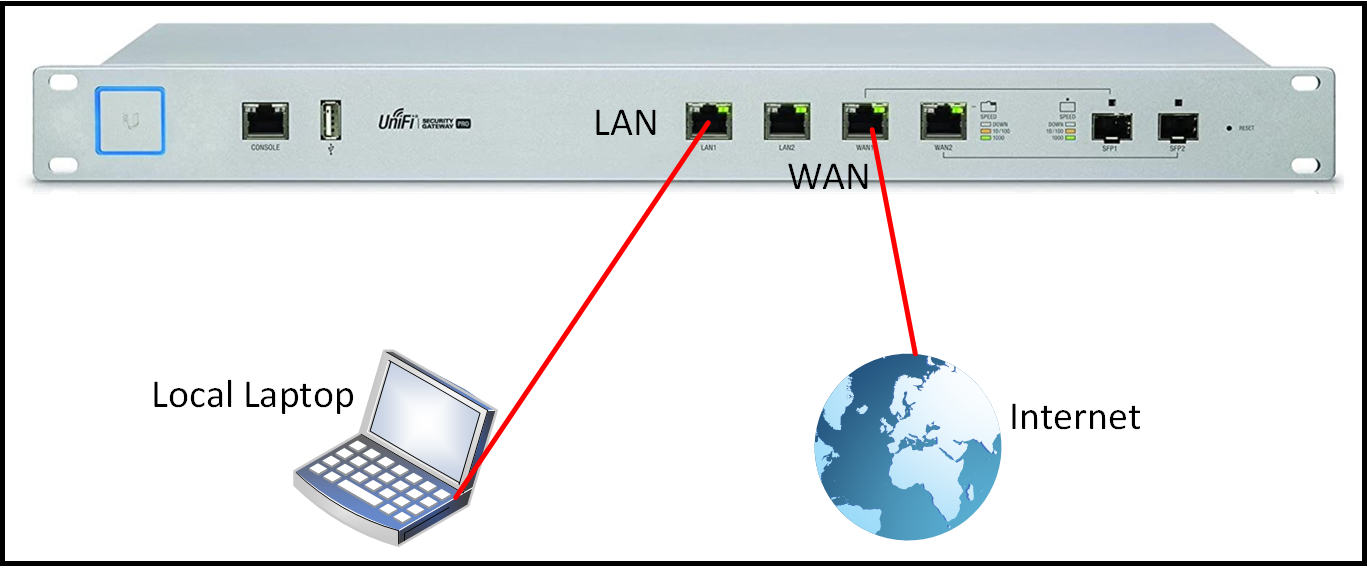
First of all, connect and setup the Ubiquiti Unifi USG Pro-4 as shown below. Ensure that USG is reachable from the local machine and also it could connect to the internet.
Configuration
Step1: Internet Connection
Connect the USG to the internet on the WAN port. as shown above in the image.
Step2: LAN Connection
Connect LAN port to the local laptop as shown above in the image.
Step3: Configure Local IP
Configure your local LAN with the IP as shown below to access the USG.
IP Address – 192.168.1.6, Subnet Mask – 255.255.255.0, Default Gateway – 192.168.1.1
If DHCP is enabled then the local laptop will automatically pick up the IP. The default IP of USG Pro-4 is 192.168.1.1.
Step4: Access Secure Gateway
Access the secure gateway by https://192.168.1.1. Click “Proceed”, to enter into the USG configuration page.


The above step will take us directly to the next page. In case it asks for a username and password use the Ubiquiti Unifi default username and password. The next page will be as shown below.
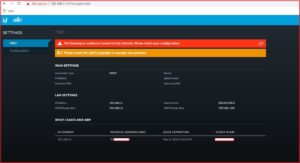

Step5: Inform Controller
Inform the controller using the command “http://ip or hostname-of-controller:8080/inform” to allow the controller to adopt the USG Pro-4. Follow the steps shown in the image below.


Step6: Adopt USG
Log in to the “Controller“, navigate to “Site” and then “Adopt” the USG.


Step7: After Adoption
Once adopted by the controller, the device is all set to use and configure as per requirement.


Ubiquiti Unifi Secure Gateway is now connected to the controller and all set to get configured. Navigate to the “Settings” of the controller to configure the Ubiquiti Unifi Secure Gateway. During the configuration or in the initial setup of USG, you may need to reset the USG Pro-4 to factory default settings and start the configuration again.
Unifi has published an Advisory To Change the password and enable 2F authentication after an incident. Check and ensure your security settings are correct. Sometimes the Unifi devices get disconnected from the controller and then we need to re-connect them. Sometimes they show us an error Inform Error, refer to the attached article to deal with Inform error issue.
Do not forget to refer to the article if you are looking to Upgrade the Firmware of the Unifi controller. The attached article contains a step-wise method to upgrade the firmware of the controller.
Disclaimer: This article is neither sponsored nor endorsing anyone. The link mentioned here is an affiliate link. If you’re interested in buying this device, purchasing it through the affiliate link is a great way to support me!
EA00065
Really basic question, I’m really new at this.
Under Step 2 of this page, it shows the LAN1 connection going to a laptop, and just the laptop.
Then in Step 6 it says to login to the controller. My controller is running on a UCK 2 plus connected to a UI switch. The USG isn’t connected to the UI switch and the rest of the LAN devices, as it is only connected to the laptop. Did I miss something? Or do I need to connect the USG LAN1 port to port 1 on the US switch?
Hi Scot,
Would it be possible for you to share a diagram to understand how devices are connected? If I understood it correctly then yes, you would need to connect USG with the Switch. It is not mandatory to connect on port number 1 only. You could directly connect USG with a laptop to access USG and configure it before connecting it to the switch.