
If you’re a network professional or student preparing for certifications like CCNA, CCNP, or CCIE, GNS3 is an essential tool. It allows you to emulate complex network topologies, test configurations, and troubleshoot issues—all without physical hardware. With support for Cisco, Juniper, Arista, and other vendors, GNS3 provides a realistic environment for hands-on learning. This guide walks you through setting up GNS3 on a Windows 11 machine, covering everything from downloading the software to configuring components like Dynamips, QEMU, and the GNS3 VM. You’ll also learn how to optimize performance, avoid common installation problems, and ensure smooth operation. In this article we will Learn how to setup GNS3 a network simulation on a Windows 11 machine with this complete step-by-step guide.
GNS3 — Graphical Network Simulator-3
What Is GNS3?
GNS3 [Graphical Network Simulator-3] is a free, open-source network emulation software that allows you to design, build, and test network topologies on your computer — without needing physical hardware. It’s like having a virtual network lab on your laptop. It is a network software emulator first released in 2008.\It allows the combination of virtual and real devices, used to simulate complex networks. It uses Dynamips emulation software to simulate Cisco IOS. GNS3 is used by many large companies including Exxon, Walmart, AT&T and NASA, and is also popular for preparation of network professional certification exams. As of 2015, the software has been downloaded 11 million times.
How Does It Work?
GNS3 doesn’t just simulate — it emulates real network operating systems. This means the actual firmware/OS of routers, switches, and firewalls runs inside GNS3, giving you a real CLI experience. GNS3 employs a modular architecture that combines a graphical user interface (GUI) with backend components responsible for managing the virtualization and network simulation processes. Users design network topologies by dragging and dropping virtual devices onto the workspace, connecting them with virtual cables, and configuring their settings. The backend components interact with virtualization technologies such as QEMU, VirtualBox, or Docker to create instances of the selected network devices. These instances then run real operating systems (like Cisco IOS) in a virtualized environment, replicating the functionality of physical devices.
Setting Up GNS3 on Windows 11 Machine
1. Prerequisites — System Requirements
Below are the prerequisite for the Windows 11 machine
| Requirement | Minimum | Recommended |
| OS | Windows 7 SP1 (64-bit) | Windows 11 (64-bit) |
| Processor | 2 logical cores | 4+ cores with Intel VT-X / AMD-V |
| RAM | 4 GB | 16 GB+ (you’ll run multiple switch VMs) |
| Storage | 1 GB | SSD with 35 GB+ free space |
| Virtualization | Required | Enable in BIOS (Intel VT-X or AMD-V) |
2. Enable Virtualization
Before installing anything:
- Restart your laptop → Enter BIOS/UEFI (usually F2, F10, or Del key)
- Navigate to CPU/Advanced Settings
- Enable Intel VT-X (or AMD-V if AMD processor)
- Save and exit BIOS
- Disable Core Isolation (if using VMware)
- Open Windows Security → Device Security → Core Isolation
- Toggle Memory Integrity to OFF
- Reboot your laptop
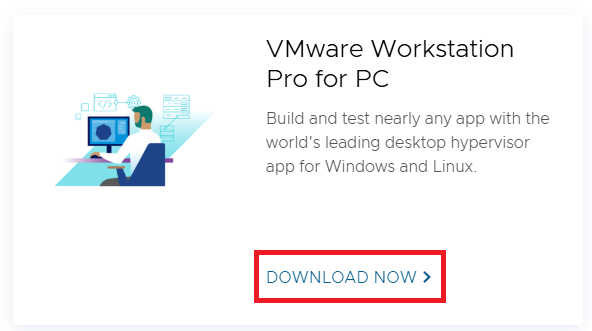
3. Install VMware Workstation Pro
GNS3 VM runs best on VMware Workstation Pro (now free for personal use):
- Download VMware Workstation Pro from => https://www.vmware.com/products/workstation-pro.html
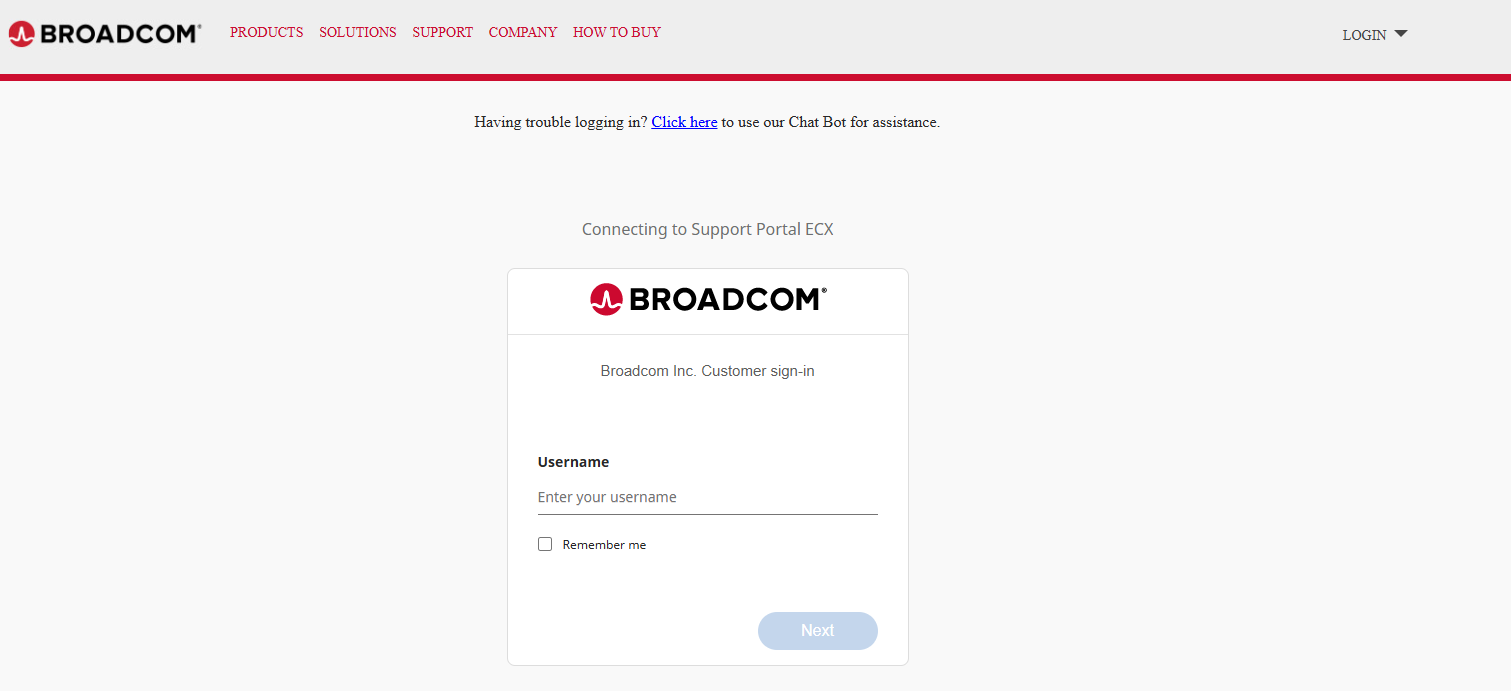
2. As soon a you will click “Download Now” it will take you to the Broadcom page. Login using your account details or create a new one if you do not have already,
3. Install with default settings
4. Reboot (if prompted)
VMware is recommended over VirtualBox for better stability with GNS3.
4. Install GNS3 (All-in-One Installer)
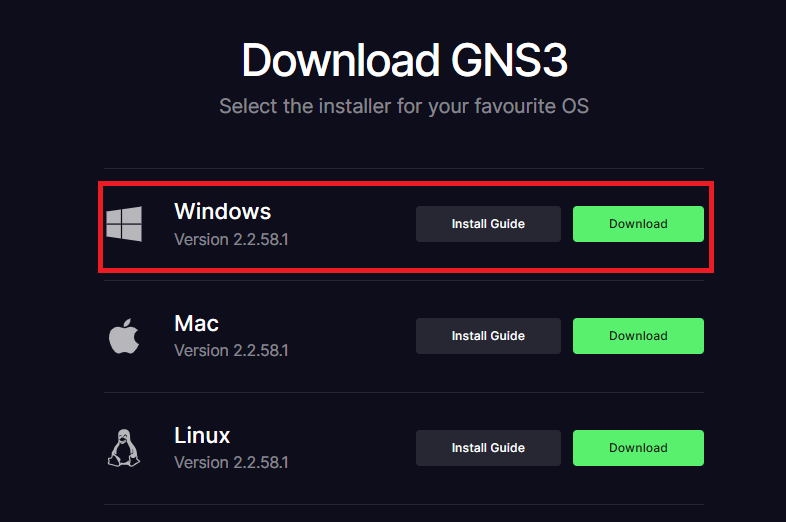
- Go to https://www.gns3.com/software/download
- Create a free GNS3 account (required for download)
- Download the Windows All-in-One Installer
- Run the installer and select the following components:
- Npcap => Yes
- Wireshark = Recomended
- Dynamips => Yes
- QEMU => Yes
- VPCS => Recommended
- GNS3 => Yes
- Complete installation with default settings
- Do NOT launch GNS3 yet — install the VM first
5. Install GNS3 VM
- Go back to https://www.gns3.com/software/download
- Download the GNS3 VM for VMware Workstation (.ova file)

- Open VMware Workstation Pro
- Click File → Open → Select the downloaded .ova file
- Import with default settings
- Configure VM resources:
- vCPUs => 2–4 (depending on your laptop)
- RAM => 4–8 GB (leave enough for host OS)
- Network => NAT or Host-Only
- Start the GNS3 VM in VMware — it should boot and show an IP address
6. Configure GNS3 GUI → Link to GNS3 VM
- Launch GNS3 from the Start menu
- The Setup Wizard will appear:
- Select “Run appliances in a virtual machine” → Click Next
- Select VMware from the dropdown
- GNS3 should auto-detect the GNS3 VM you imported
- Adjust vCPU and RAM if needed → Click Next → Finish
- Verify: The GNS3 VM status should show green (connected) in the bottom-right corner of GNS3
7. Add network devices for Testing
Add the devices Dell, Cisco, and HP and do your testing.
Congratulations! You have successfully installed and configured GNS3 on your Windows 11 machine. With the GNS3 VM properly set up, along with Dynamips, QEMU, and other essential components, you now have a powerful and flexible network emulation platform ready for building complex labs. Whether you are studying for Cisco certifications, testing new network designs, or exploring advanced networking concepts, your GNS3 environment is now fully equipped to support your learning and experimentation. Remember to keep your GNS3 version updated and regularly optimize your VM resources for the best performance. Start building your first topology today and take full advantage of this incredible tool. Happy labbing!
EA00208