Scenario:
Make: SonicWall
Service: MySonicWall portal account
Mode: Web portal and authenticator app
Description: In this article, we will discuss a stepwise method of how to enable two-factor authentication (2FA), also called multi-factor authentication (MFA), on your MySonicWall account, which authentication method to choose, and what to do if you lose access to your authenticator.
Why MFA Is Required on MySonicWall
MySonicWall is the portal where you register SonicWall firewalls, manage licenses and subscriptions, download firmware and open support cases. Because it controls so much, SonicWall announced in 2024 that MFA would become mandatory for all MySonicWall accounts, with a deadline of 4 November 2024. If MFA is not set up on your account yet, you will be asked to enable it the next time you log in.
With MFA, signing in needs your password and a one-time code, so a stolen password alone is not enough to access your account. Google uses the same idea for Gmail; see How to Turn On 2-Step Verification in Gmail.
Choose Your Authentication Method
| Method | How It Works | Recommendation |
| Authenticator app | 6-digit code from Google Authenticator, Microsoft Authenticator, Cisco Duo or similar | Recommended; works without email access |
| Email OTP | One-time code sent to your registered email address | Easier, but less secure if your email is compromised |
If you share a MySonicWall account with colleagues, consider giving each person their own account in the portal instead, so everyone has their own MFA and access can be removed when someone leaves.
Steps to Enable MFA on MySonicWall
Step 1: Open the MySonicWall Portal
Go to mysonicwall.com.
Step 2: Log In
Sign in with your MySonicWall email address and password.
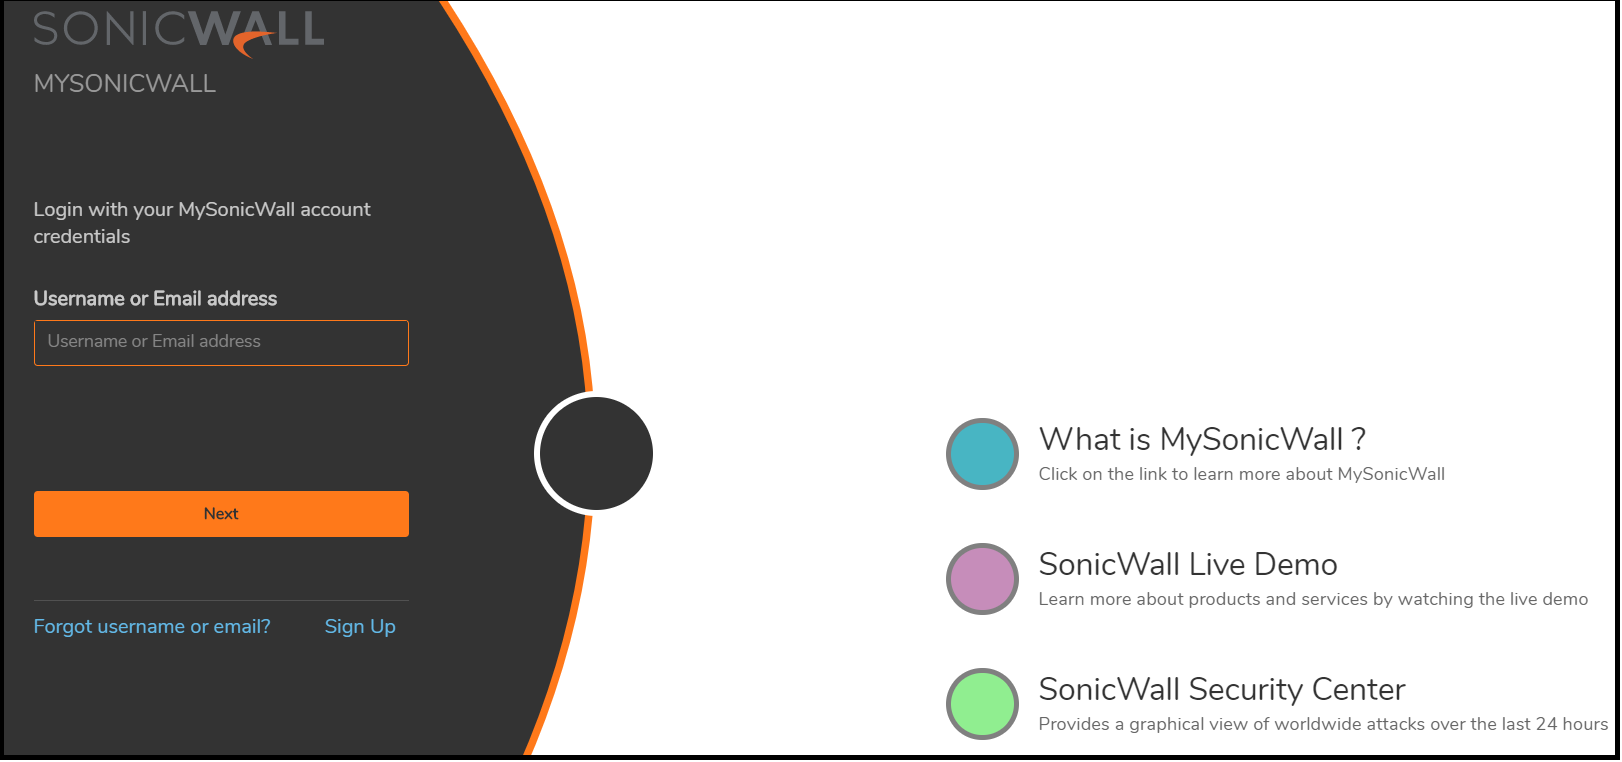
Step 3: Open Your Account Settings
Click your name or the “My Account” section, find Two-Factor Authentication (or MFA) and switch the toggle on.

Step 4: Choose the Method
Select either Authenticator App or Email. We recommend the authenticator app.

Step 5: Install an Authenticator App
If you do not have one yet, install Google Authenticator, Microsoft Authenticator or Cisco Duo on your phone from the App Store or Google Play.
Step 6: Scan the QR Code and Confirm
Open the authenticator app, add a new account and scan the QR code shown on the MySonicWall page. Enter the 6-digit code from the app and click “Confirm”.

MFA is now enabled. From now on, MySonicWall will ask for a code from your app (or email) each time you sign in.
Important Note: Save any recovery or backup codes MySonicWall offers, and consider adding the account to an authenticator app that supports cloud backup. If you lose or replace your phone without a backup, you may need to contact SonicWall support to regain access to your account.
Troubleshooting
- “Invalid code” errors – the time on your phone is probably wrong. Turn on automatic date and time in your phone settings and try again.
- Email code not received – check your spam or junk folder, and make sure messages from SonicWall are not blocked by your email filter.
- New phone – before switching, sign in on the old phone and move the authenticator account to the new phone, or change the MFA method in My Account.
- Locked out – use a backup code if you saved one, or contact SonicWall support with your account details.
Frequently Asked Questions
Is MFA mandatory on MySonicWall?
Yes. SonicWall made MFA mandatory for all MySonicWall accounts from November 2024.
Does this change how I log in to my firewall?
No. This MFA applies to your MySonicWall portal account. Logging in to the firewall’s own management interface is configured separately on the firewall.
Which authenticator apps work with MySonicWall?
Any standard time-based one-time password (TOTP) app, such as Google Authenticator, Microsoft Authenticator or Cisco Duo.
After enabling MFA, you can manage your licenses as described in How to Activate or Renew SonicWall Licenses.
Other important topics
- How to Configure VPN Between Microsoft Azure & SonicWall
- SonicWall NSA Firewall Failover Configuration – GUI
- Site-to-Site IPSec VPN Configuration On SonicWall NSA
- SonicWall NSA Firmware Upgrade – GUI
- Activate Or Renew SonicWall NSA Licenses
Source: SonicWall Support, Knowledge Base, Lab
Disclaimer: This article is for educational purposes only and is not professional financial, medical, or legal advice. It may contain affiliate links, which earn us a small commission at no extra cost to you. See our Disclaimer and Affiliate Disclosure.
Article ID: EA00165