
Introduction
It’s the old days when we used to manually sign a document using a pen. Today is an era of technology and with continuous improvements, it is now easy and recommended to sign documents digitally. To sign a Microsoft word document digitally you would need a valid certificate installed on your computer and signature settings properly configured. Here we will discuss how to add an invisible digital signature to a Microsoft word document. You could also Digitally Sign a Microsoft Word Document using a signature line.
This method is valid for the Microsoft Word 2010, 2013, 2016 and O365 using your digital certificate.
Adding an invisible digital signature
Step1: Document
Open your document and click “File” as shown below.

Step2: Add Digital Signature
From the “Protect Document” drop-down menu, click “Add a Digital Signature” as shown below.

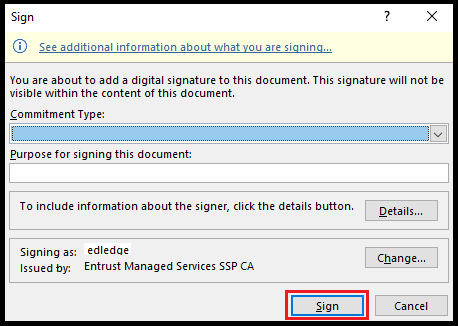
Step3: Commitment Type
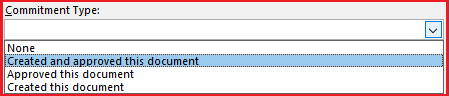
Select the “Commitment Type” and then click “Sign“. Commitment type options are shown below in the image.
Options for commitment type shown below
Step4: Validation
Put the PIN and then click “OK”.

Step5: Confirmation
A confirmation pop-up will appear as shown below after a successful PIN validation.

An invisible digital signature is added to the document. Remember “If the document is changed, your signature will become invalid and you will have to sign it again“.
Are you facing issues when Microsoft Outlook Is Showing Emails Of Past One Year Only? Also, Outlook Connection To Gmail Broke After Google’s 2F Authentication Policy?
[ays_quiz id=’6′]
Source: Knowledge Base, Internet, Microsoft
EA00103