
GitHub is an internet hosting service for software development and version control using Git. Git is a free and open source distributed version control system designed to handle everything from small to very large projects with speed and efficiency. Git development began in April 2005 and Development of the GitHub.com platform began on October 19, 2007. In this article, we will discuss the stepwise method of how to install Git on Windows operating system machines.
Follow the steps mentioned below to install the Git on Windows operating system. Click the link to know how to install Git on Linux Machine.
How to Install Git on Linux Machines
Prerequisite
Below are the prerequisite of before starting the installation of Git on the machine.
- Make sure the Latest Linux operating system is installed (recommended)
- The machine (Laptop/desktop) has an internet connection
- A terminal session is working without any errors.
- If possible, install notepad ++, that will be really helpful
Installation
Step1: Downloading
Download Git from the official website depending upon the windows bit you are using e.g. 32-bit or 64-bit.
Git - Downloading Package (git-scm.com)
Step2: Extraction
Extract the downloaded file.
Step3: Start Installation
Once the Git file is extracted, start installation and if required, provide the admin credentials to process the installation.
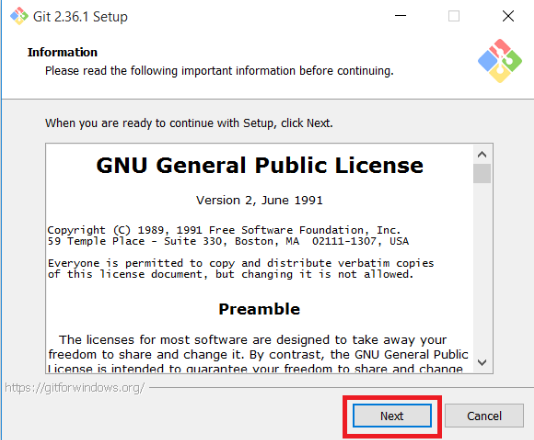
Step4: Accept License
At the next step you will see GNU General Public License, click “Next” as shown below in the image.
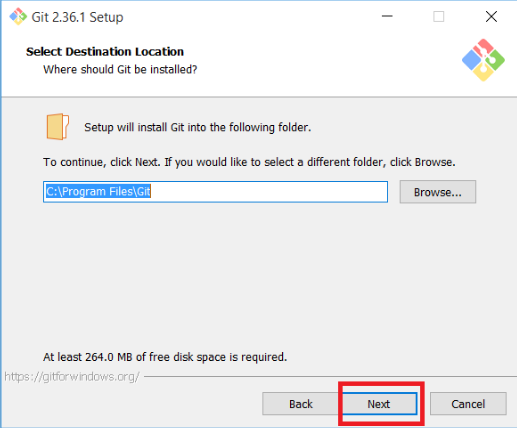
Step5: Installation Location
Select the installation location, if you do not have any specific reason or requirement, keep the installation file at its default location and click “Next“.
Step6: Select Components
Leave the components to its default settings unless you have any specific requirements.

Step7: Start Menu Folder
In the next step of Start Menu folder selection, leave it to default, and click “Next“.

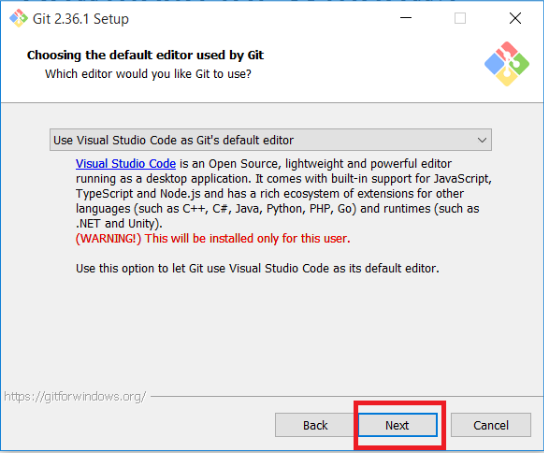
Step8: Choose Default Editor
Choose the text editor you want to use with Git and then click “Next“.
Step9: Initial Branch
By default it gives the branch name as ‘Master’. Leave it to default unless you want to give it another name and click “Next“.

Step10: PATH Environment
In next step of path selection, continue by selecting the recommended option (as shown below in the image) and click “Next“. You can adjust the PATH environment during this installation phase.

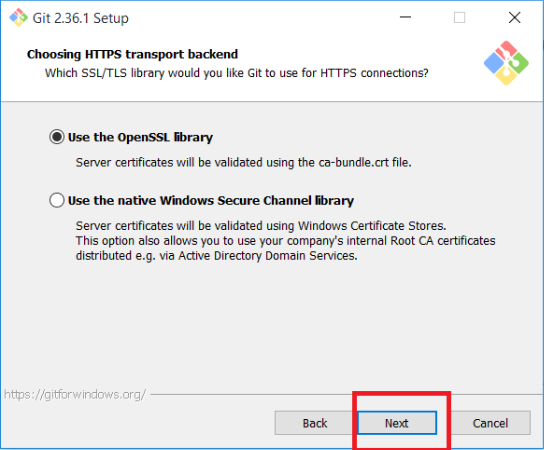
Step11: HTTPS Transport Backend
The following option concerns server certificates. Choose the default option and click “Next“.
Step12: Line Ending Conversations
In this step, the structure of the data gets decided. Leave it to default and click “Next“.

Step13: Terminal Emulator
Select the terminal emulator that you wish to use. If you are going to use SSH, Command Prompt or PowerShell then select Windows’ default console and click “Next“.

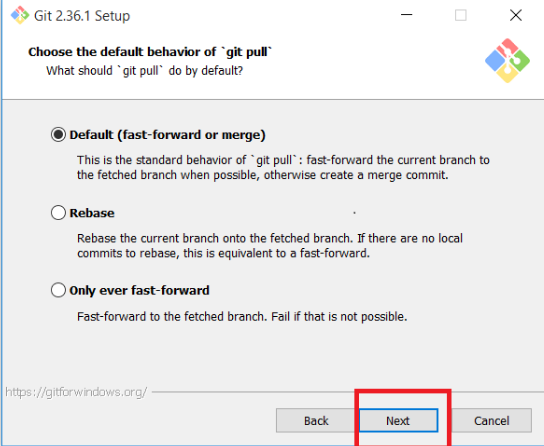
Step14: Git Pull
Choose the default git pull behavior, leave it at the default setting, and click “Next“.
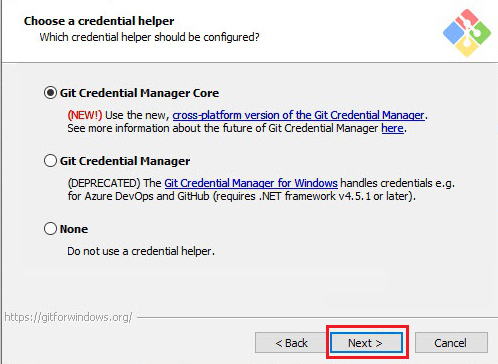
Step15: Git Credential Helper
Credential helpers are used by Git to retrieve or save credentials. Leave it to default and click “Next“.
Step16: Extra Options
Change the default setting if you want to activate additional features. Else leave the default settings as it is and click “Next” to proceed.

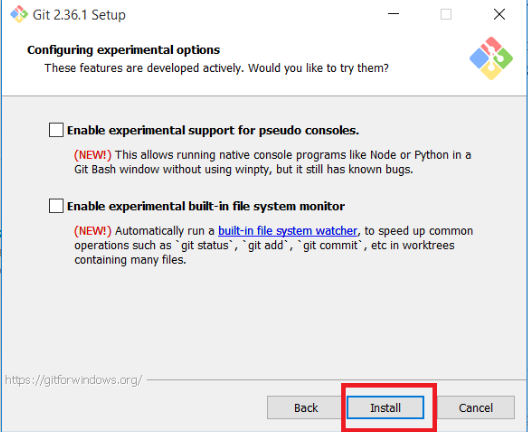
Step17: Experimental Options
In this step you could leave the options unchecked and click “Install“.
Git will be installed successfully after this. Open Command Prompt or Git Bash and enjoy Git.
Other important topics
- Add an Invisible Digital Signature To a Microsoft Word Document
- Port-Channel/Channel Group vs Ether Channel/Link Aggregation
- How To Enable Telnet Service On Windows 10
- Enable Two Factor Authentication On Gmail Account
- Outlook-Gmail Connection Broke After Google’s 2F Auth. Policy
Source: Knowledge Base, Internet, Github
EA00131